
MD3 Dungeon Guide: Academy Tokugawa x Academy Ina
With the advent of Academy Tokugawa and Academy Ina, a new, powerful MD3 team has entered the fray. By taking advantage of non-transforming leaders, this team mitigates the danger of stalling to transform Atori or Raphine. Additionally, it takes advantage of high eHP and ease of stalling to make TF Yurisha and Seina manageable. While the team is relatively safe with copious amounts of movetime and high durability, it suffers from a tedious and slow playstyle that is highly contingent on cheesing Raphine’s spinner and matching precise boards for clean one shots. Though the sub slots are highly inflexible, most of these equips can be easily substituted. Whether you’re looking for safe MD3 clears or a simple one-and-done, this build will do the job.
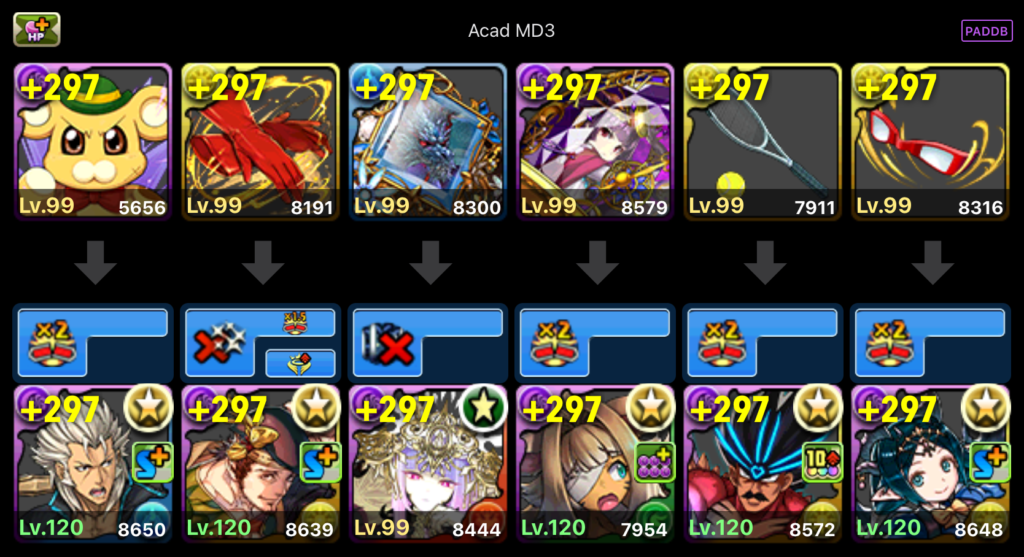
Build Notes
Build assumes rainbow solves with dark bricks unless otherwise noted. Additional notes indicate extensions of rainbow solves except for F3 and F4. Lead with Baran for a 7×6 board. Stall for Tokugawa as needed. Stalling without a dark brick requires 10-11 connected dark orbs. System Raphine and HChakeol after F6 and F7 respectively. Certain floor sequences must be followed precisely to maintain systems for orb generation while countering debuffs.
HP Thresholds:
- 52,813 with awakenings
- 52,376 without awakenings
Potential Replacements:
- Bonta-Kun: leader swap
- Saitama: SB and long CD, preferably with team HP and/or RCV and poison resist
- Orochi: cross, preferably with team HP and/or RCV and poison resist
- Tsukuyomi: NY Tsukuyomi, Myr
- Kiyosumi: delay, preferably with team HP and/or RCV and poison resist
- Ultraseven: HInahime’s Club, Shusuke’s Article, HMadoo’s Hat
Floor Guide
Floor 1: Mystic Familiars
Use Bonta-Kun and transform Raphine T1. Match a minimum of 10 connected dark orbs and 10 combos over 2T to kill.
Floor 2: Pengdras
Use Okuninushi to clear the potential awoken bind and avoid Saitama overcharge. Use Tsukuyomi to create a long term time buff. Kill over 2T.
Floor 3: Baby Pengdras
Use Ultraseven to buy time for debuff clears. Match 2 red or dark crosses, a light or dark TPA, and a light or dark L. Kill over 3T, with the first turn spent clearing debuffs.
Floor 4: Healers and Phoenix
Stall 2T, matching 10-11 dark orbs without 10c. Use Kiyosumi and Tokugawa. Bring the Phoenix to super resolve in 1T. Transform Raphine. Stall 2T, then use Raphine again. Stall 1T, then kill all spawns.
Floor 5: Archangel 2
Use Tokugawa and one shot with rainbow activation.
Floor 6: Egyptian 1
Use Raphine T1 to begin system and overwrite Horus’ debuff if he appears. Use Okuninushi if Ra appears. One shot with rainbow activation.
Floor 7: Archangel 2
If Ruel spawns, use HChakeol to unlock. Stall 1T for Tokugawa. Use Tokugawa and kill by matching a light TPA or an additional dark combo.
If Rozuel spawns, use HChakeol and kill by matching a light TPA or an additional dark combo.
If Famiel spawns, use HChakeol, stall 1T for Tokugawa. Use Tokugawa and kill by matching an additional dark combo.
Floor 8: Archangel 1
For all spawns, stall until Okuninushi is 2T away from charged and Raphine is 1T away from charged.
If Uriel spawns, use Tokugawa and kill by matching a light TPA and an additional dark combo.
If Gabriel spawns, use Tokugawa and kill by matching a light TPA, an additional dark combo, and either a water TPA or a wood TPA.
If Michael spawns, use Tokugawa and kill by matching a light TPA and an additional dark combo.
Floor 9: Archangel 1 and Archdemons
If Raphael spawns, use Raphine and kill by matching a light TPA, an additional dark combo, an additional light combo.
If Lucifer spawns, use Ultraseven to counter his full heart board and his 50% moveset. Spend T1 clearing the board, kill over the next 2T.
If Baal spawns, match an additional dark TPA to clear light unmatchable.
Floor 10: Miscellaneous Pantheons
If Sarasvati spawns, use Okuninushi and kill by matching 2 light TPAs, and an additional dark combo. Either one light TPA or the additional dark combo must be substituted with an L of the corresponding color.
If Astaroth spawns, bring her to super resolve. Be cautious of bringing her to super resolve when you have 1T spinners as this will render her puzzle impossible. Clear her puzzle by spinning away the poisons in the two leftmost and two rightmost columns. Leave the connected poisons in place to match.
If Pandora spawns, stall 1T if needed for Tokugawa. Use Tokugawa and kill by matching a light TPA and either an additional light combo or an additional dark combo.
Floor 11: Indian 2
If Krishna spawns, use Baran or Kiyosumi to void her absorption shield and either Ina or Raphine to clear the time debuff.
If Vishnu spawns, use Okuninushi T1 to delay shield. Stall until his absorb shield lowers to ensure Okuninushi is ready by F14 T2.
Floor 12: Archdemons
If Belial spawns, use Ina or Raphine to clear the time debuff.
If Amon spawns, shield T1. Chip him T2 with minimal activation, then kill on T3.
Floor 13: Mystics and Specters
If Seina spawns, ensure you heal to full while she is enraged. Use Tokugawa T1 to chip, then use Ina T2, Raphine T3, and Ina T4. She should be killable in one shot after her void shield lowers. Alternatively, one shot her T1 by matching 5 light TPAs, a fire combo, a water combo, a dark TPA, and a dark brick.
If Ryumei spawns, make either a light L or a dark L T1 to unlock and kill over 2T. Alternatively, one shot him by matching 5 light TPAs, a fire combo, a water combo, a dark TPA, and a dark brick.
If Mikage spawns, make either a red cross or a dark cross T1 and kill over 2T. Alternatively, one shot him by matching 3 light TPAs, 2 fire combos, 2 water combos, 2 dark combos, and a dark brick.
Floor 14: Saras
If Uvo Sara spawns, use Okuninushi to clear awoken bind and kill over 2T.
If BSara spawns, chip her T1, then use Tokugawa and kill T2.
If LSara spawns, use Okuninushi or Kiyosumi and kill her over the following 8T. Stalling the full 8T is not necessary.
Floor 15: Base Yurisha
Make either a red cross or a dark cross T1. Kill over 4T.
Floor 16: Yurishas
If TF Yurisha spawns, stall for Ultraseven by piercing her void sparingly. Use Ultraseven the turn you bring TF Yurisha to super resolve. Mind her 5% execute.
If GYurisha spawns, maximize damage by matching additional dark combos and light TPAs. Kill over 12T.
If LYurisha spawns, kill over 7T.
Any replacement for baran?
Your best bet is a 7×6, low CD, high damage sub, such as DCecilia, with a low CD delay inherit. It’s not a 1:1 replacement and you’ll need to redo almost all your damage calculations, but theoretically, it works.